July - September 2013

How to Correctly Construct a Waterbar
The first push on a water bar should extend beyond the upper edge of the skid trail. The skidder should be articulated to provide the correct 30 degree angle for the water bar. The skidder should pull up to within 2-3 feet of the correct location for the waterbar. To start construction, put down pressure on the skidder blade, lifting the front wheels off the ground. Ease the skidder forward 2-3 feet to create the waterbar.
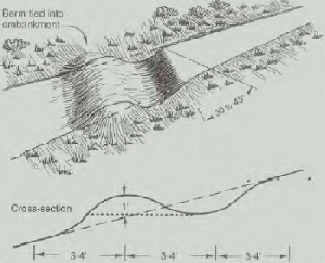
Loose dirt should not be pushed into a pile to create a water bar. A correctly built water bar should consist of a shallow trench in the trail with dirt piled behind it.

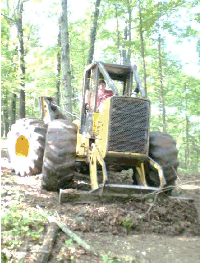
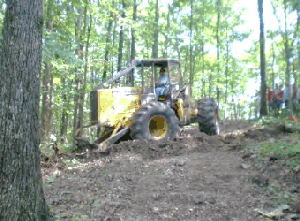
The skidder will need to reposition and push a minimum of four different times to correctly complete the construction of a waterbar. Pictured here is the second push.
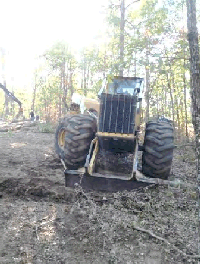
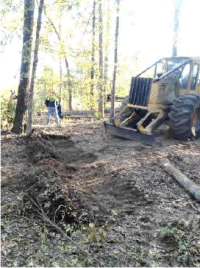
The skidder is currently completing the third push. Notice that the waterbar extends beyond the lower end of the skid trail preventing water from running back into the skid trail.
Properly constructed waterbars should drain rather than damming or pooling water up. A waterbar should serve as a diversion rather than a dam. Water should divert off the skid trail when it hits the waterbar.
The fourth push creates an outlet for the water. Water should be diverted into undisturbed forest leaf litter. The leaf litter can then filter the sediment and disperse the water before it enters a stream.
A completed, correctly built waterbar can be constructed in approximately 2 minutes. It should extend beyond both sides of the skid trail. The waterbar should be angled at 30-45° and should drain into undisturbed leaf litter.